
News
How to Apply Graphics and Decals on Your Bike
Everyone loves their bike and it is not likely to uncover a person who will not like to accessorize and modify their highway beasts working with decals and stickers. How amazing will a graphic kit will glimpse on your bicycle, proper? Several people, especially the riders, favor to get some sort of decals and graphics put in on their bikes as they can not stand the actuality that their.
Bikes appear ordinary. Many others may possibly do it to cover any dent or scratches from their vehicle. So, if you far too are seeking for equivalent solutions or graphic installations then browse this brief, specialist guidebook on how you can use and put in the graphic kits on your bike:
In advance of you start
Inspect no matter if the plastic of the graphic kit you bought. It seems defective, scuffed or scratched then you should really get it replaced. Prior to you apply the graphics to your bike, you will need to make confident that the purchased plastic is in good issue.
For installation you will have to have:
• – adhesive paper tape
• – paper knife / scissors
• – hair dryer or heat gun
• – degreasing agent or alcoholic beverages-h2o combination
• – squeegee (optional)
Now clean your palms as clean up arms will assist you get ready floor far better and also hold the software space cleaners. If your fingers have any grime or oil over them then your graphics are probably to free their stickiness.
Now you need to have to put together the floor. If your bike has some pre-put in graphics or tattoos then take out it completely. You can use a hair dryer or warmth gun warm up the previous graphic and then clean the surface area by means of a degreasing agent. You have to not go away any sort of glue residues on the surface area. In advance of you utilize the new sticker, the bike product should be warmed up properly.
Utilize the Graphic:
Now place the Decal graphics about the location you want to put in them and tape down the decal on it. This will enable to hold it in put. Use as significantly tape as you want to be relaxed. Now peel off the backing paper from the track record of the decal to till its middle. Minimize the peeled element and check out the alignment of the decal, whether or not it is as you wanted or not!
Location a single of your fingers on a single aspect of the graphics and do the job in tiny sections, working with your thumb or squeegee. This will help to utilize uniform force and get rid of any kind of bubbled and wrinkles on the Decal graphics. Doing the job from center out is an uncomplicated way to get rid of bubbles, peeling out or any other deformities. If bubbles nevertheless persist, you can test popping them through a great needle or pin. Else keep bringing the bubbles onto the edges and repeat the steps.
In case, you decal has sharp curves, use warmed up sticker or warmth gun soon after application. You can also reduce off the excessive, prolonged and undesirable sections that address your vent slits, entry holes or bolts.


How to score 24 points when you weren’t sure you could race.
Source link


Exciting racing in Loket sees both championship leaders (Gajser and de Wolf) emerge victorious.
Source link
Marchbanks is signed with Monster Energy Pro Circuit Kawasaki for 2025.
Source link
-
 News12 months ago
Watch: GoPro Lap of Loretta Lynn’s Practice with Dakota Baker, Jeff Emig
-
 News11 months ago
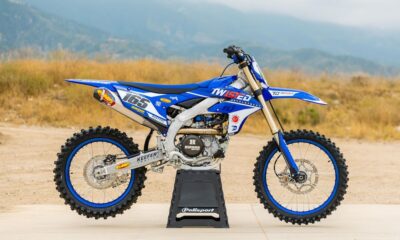
Racer X Films: 2023 Yamaha YZ450F Garage Build
-
 News1 year ago
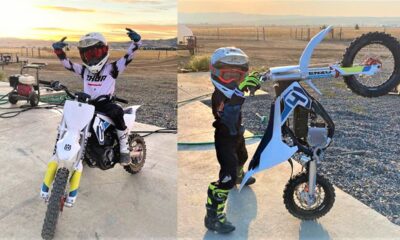
7 Year Old Rider Is A Motocross Superstar
-
 News12 months ago
Yamaha YZ 250 F 2022 test ride
-

 News11 months ago
The 2022 Yamaha YZ250FX, YZ450FX, YZ250X and YZ125X—Born to compete
-

 News11 months ago
Hangtown Motocross Classic Lucas Oil Race Recap | 2022 Pro Motocross
-

 News12 months ago
Watch: Triumph’s Unveils New Motocross Engine
-
 News12 months ago
Freeride E-XC Review (2022 Edition)