
News
2004-5 Yamaha FJR1300 Race (no cut) Frame Sliders Install Instructions
These sliders have been created to offer unsurpassed protection for your Yamaha
FJR1300 in the unlucky event of a lowside or tip more than. Motovation frame sliders
are created and created by a firm that only tends to make frame sliders. Every
and every single model is tested for drop and slide defense. They are tricky but not
brittle and can also take up a substantial effects. Sportsriders around the planet who have
analyzed several versions of our items on the track have all presented their thumbs up
right after experiencing first hand, the positive aspects of Motovation Body Sliders.
You should read all directions just before starting do the job! These frame sliders are created
to match certain engine mounts of your Yamaha FJR1300. This kit has separate left and
ideal parts (remaining and proper though sitting down on the bicycle). It is hugely recommended that
you refer to your support handbook just before undertaking this installation. If you are
doubtful about the tightening torque, examine your motorcycle’s manual or
http://www.motovationusa.com/torque.html for a brief reference tutorial.
Included in this package:
2 x Left/ Appropriate side frame sliders
2 x thicker aluminum spacers ( Remaining )
2 x thinner aluminum spacers ( Appropriate )
2 x Still left/ Suitable Hi Grade aluminum brackets
3 x m12 x 80mm socket head cap screws
1 x m12 x 70mm socket head cap screw
2 x m10 x 50mm socket head capscrews for sliders.
Resources Necessary:
Torque Wrench
12mm allen critical for Torque Wrench
14mm socket
Phillips screw driver
Guidelines: Try this put in a person side at a time.
1)
Take away equally aspect fairings.
Remove remaining side original bolts. Go away authentic washers in spot.
Install the equipped spacers as proven:
Still left Side Spacers x 2 pcs (thicker ones).
Appropriate Facet Spacers x 2 pcs (thinner kinds).
2)
Install the left side bracket with the thicker spacers as shown.
Tighten to manufacturer’s suggested torque. (40ft/lbs)
Making use of the supplied M12 x 80mm bolts.
3)
Get rid of right facet primary bolts. Go away primary washers in place.
Put in the right aspect bracket with the thinner spacers as demonstrated
Tighten to manufacturer’s proposed torque.(40 ft/lbs)
Using the provided 1 x M12 x 70mm bolt for the upper spot.
Employing the supplied 1 x M12 x 80mm bolt for the decreased location.
4)
Re-install the still left and right fairings to their primary places. This will depart only
the mounting spots for the frame sliders obvious on equally sides.
5)
Set up the supplied frame sliders with the remaining bolts and tighten.
Do not overtighten.


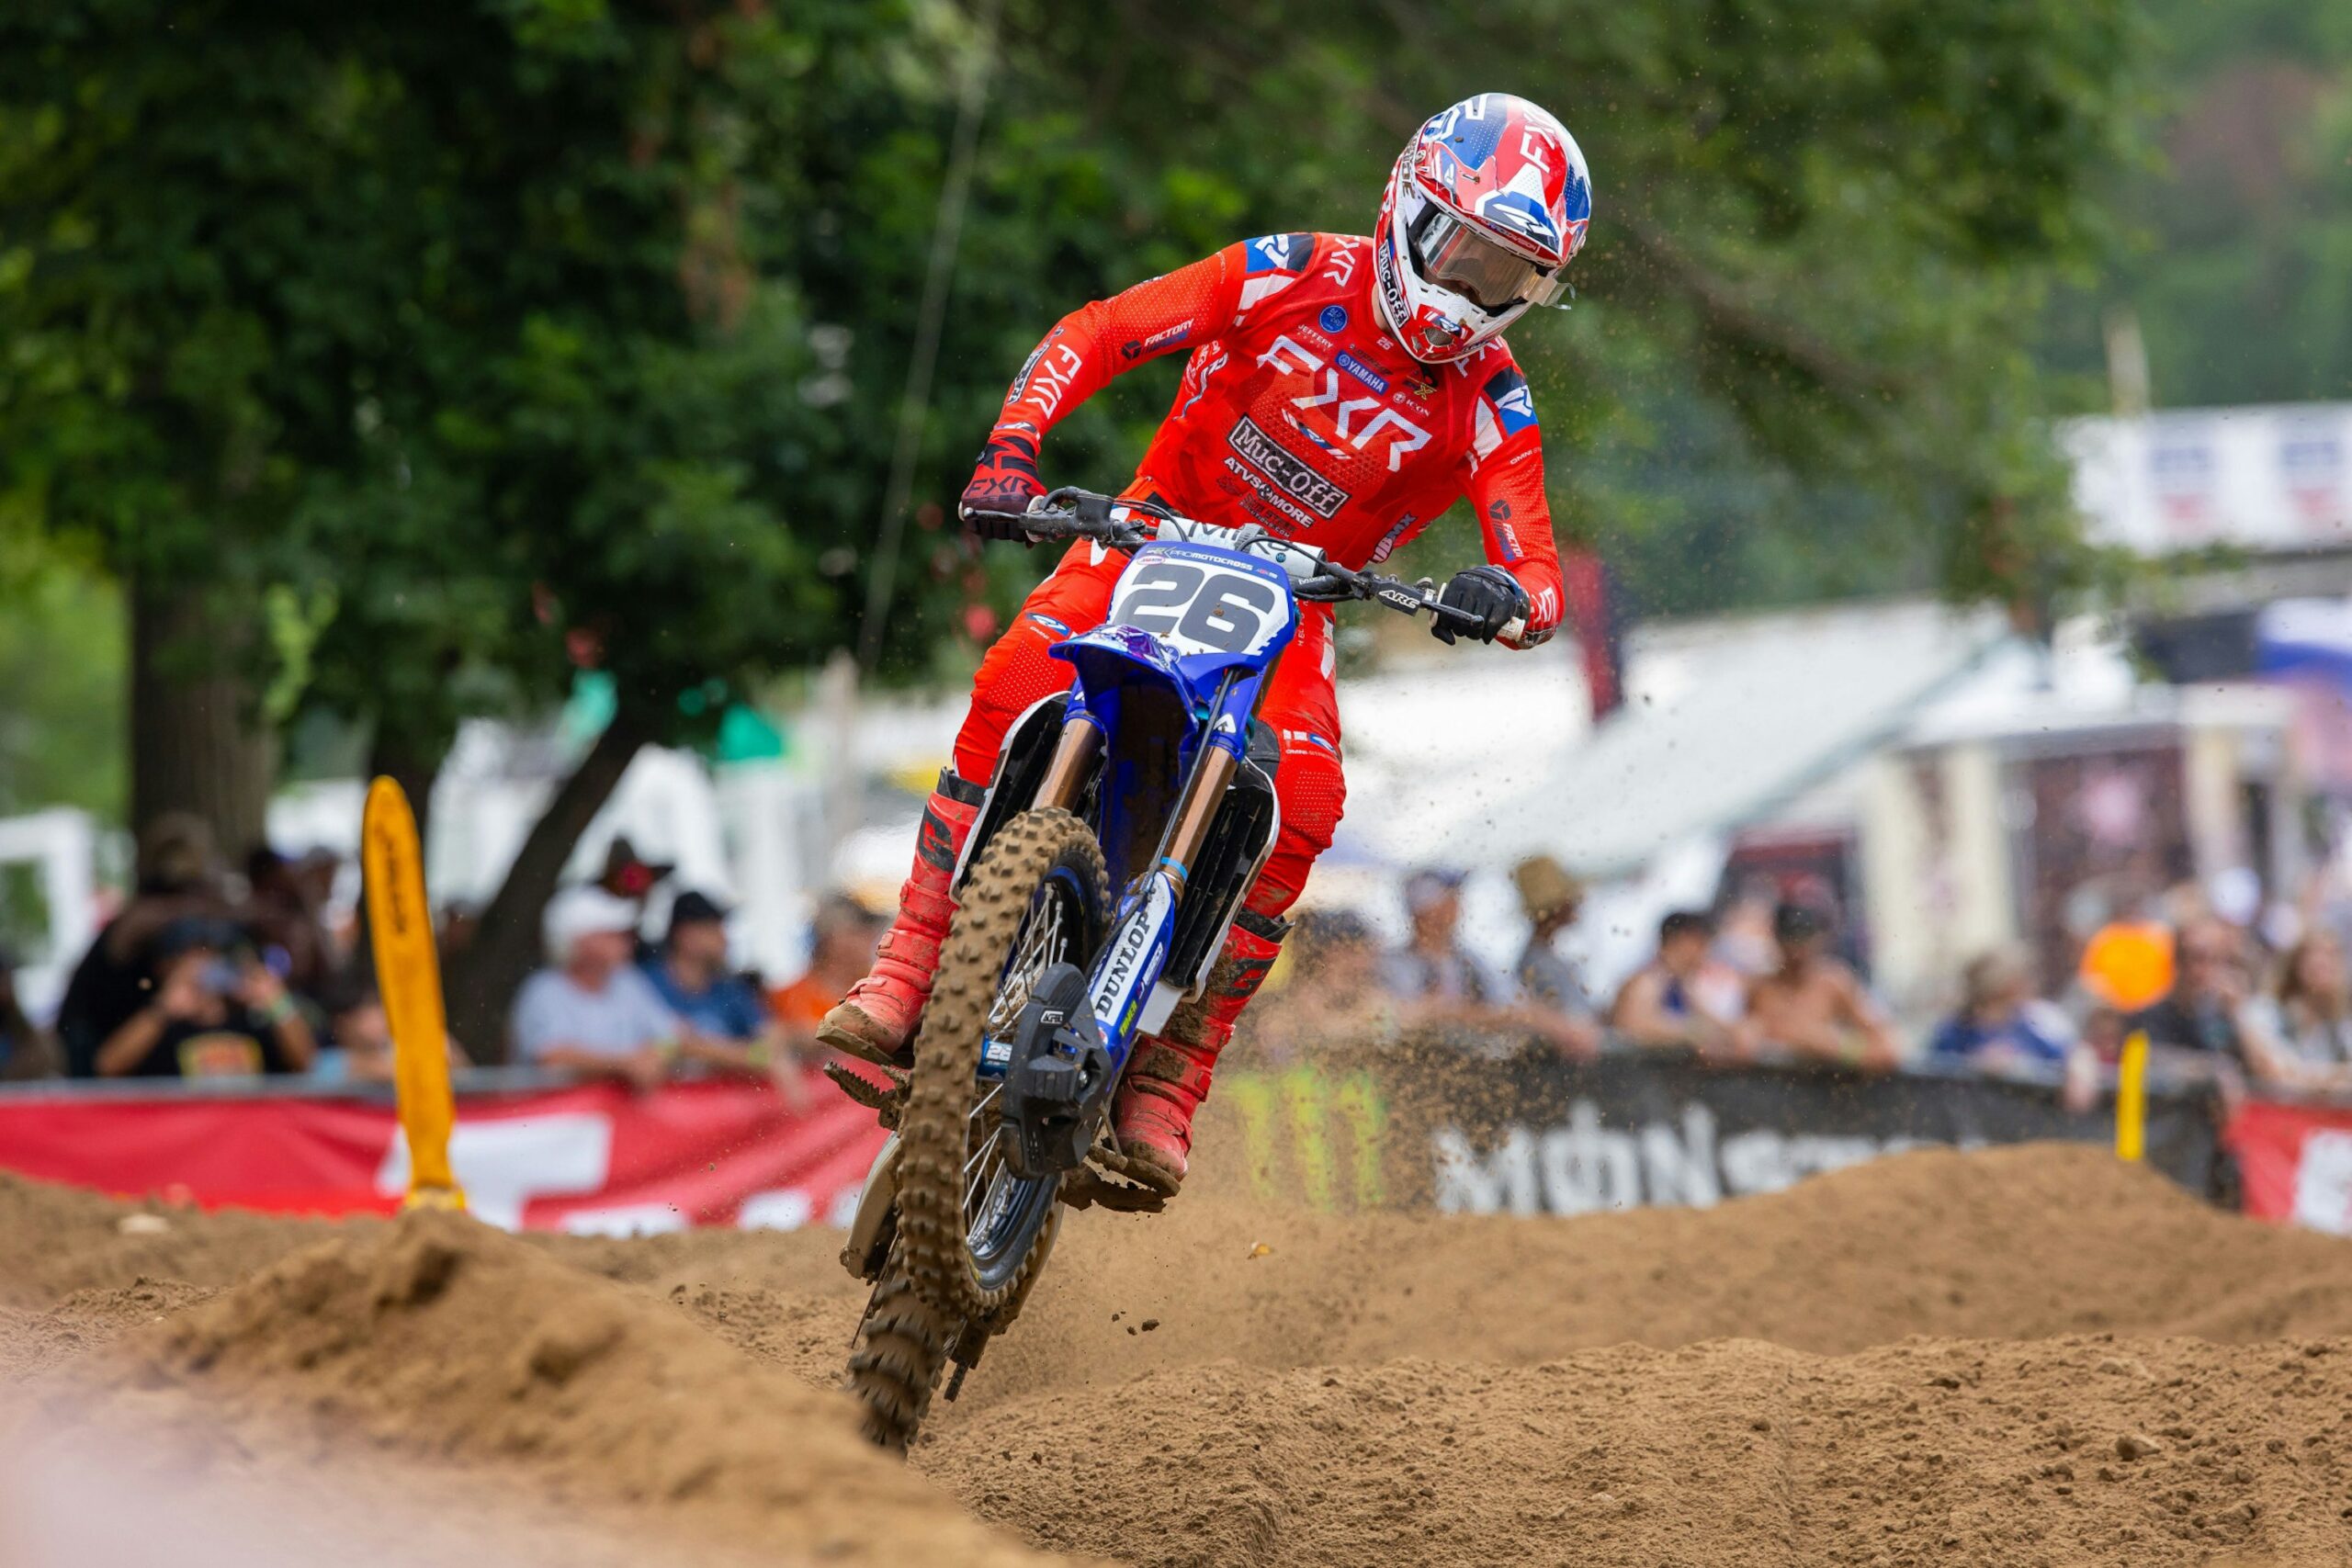
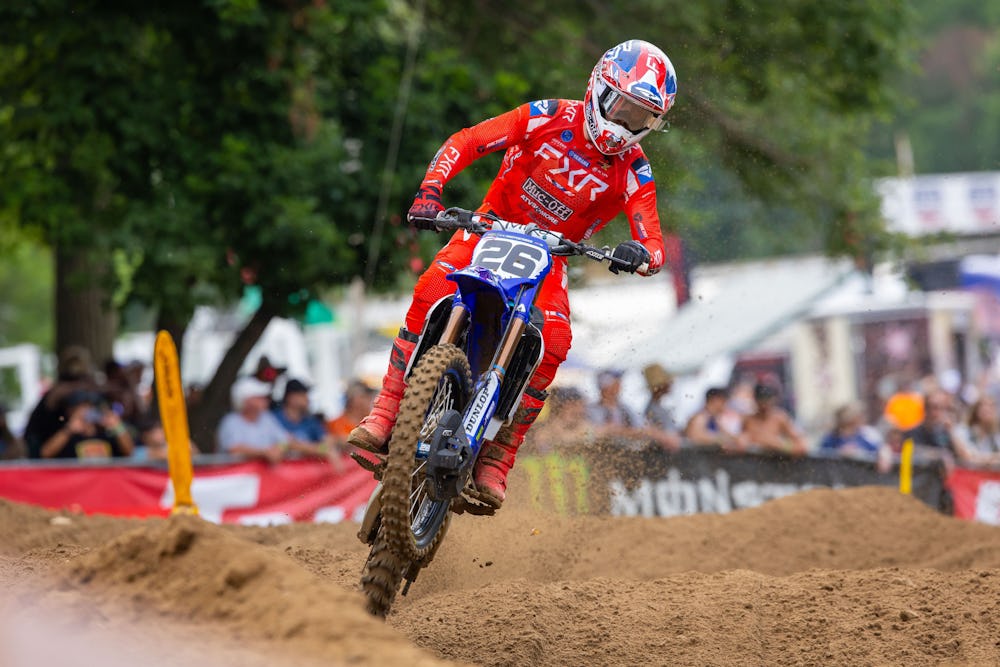
How to score 24 points when you weren’t sure you could race.
Source link


Exciting racing in Loket sees both championship leaders (Gajser and de Wolf) emerge victorious.
Source link
Marchbanks is signed with Monster Energy Pro Circuit Kawasaki for 2025.
Source link
-
 News12 months ago
Watch: GoPro Lap of Loretta Lynn’s Practice with Dakota Baker, Jeff Emig
-
 News11 months ago
Racer X Films: 2023 Yamaha YZ450F Garage Build
-

 News1 year ago
7 Year Old Rider Is A Motocross Superstar
-

 News12 months ago
Yamaha YZ 250 F 2022 test ride
-

 News11 months ago
The 2022 Yamaha YZ250FX, YZ450FX, YZ250X and YZ125X—Born to compete
-

 News11 months ago
Hangtown Motocross Classic Lucas Oil Race Recap | 2022 Pro Motocross
-

 News12 months ago
Watch: Triumph’s Unveils New Motocross Engine
-

 News12 months ago
Freeride E-XC Review (2022 Edition)